This is a very quick tutorial to teach you how to draw a realistic old torn paper vector easily in Illustrator. You can use this torn paper for treasure maps or for putting text in vintage design. A very nice old effect that can be achieved using gradient mesh.
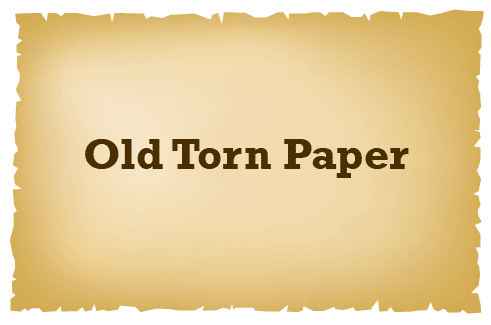
Old Torn Paper Illustration
1. Draw a rectangle. Select it and go to Object > Create Gradient Mesh. Set Rows and Columns to 4 to create a gradient mesh for the paper.
2. While the gradient mesh is still selected, apply a light brown fill to the gradient mesh. Use the direct selection points to selects all the points at the edges and fill it with a darker brown tone.
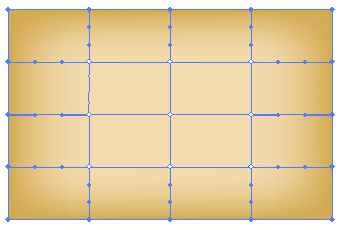
3. Use the Direct Selection Tool and tweak the inner 6 gradient mesh points to give it a natural look. Apply a darker or lighter shade to each of these few points to make your old paper look more natural.

4. Use the Pen Tool to draw the edges of a torn paper. Draw it in a zig zag manner to mimic a torn effect.

5. Continue drawing to achieve the below torn paper shape.
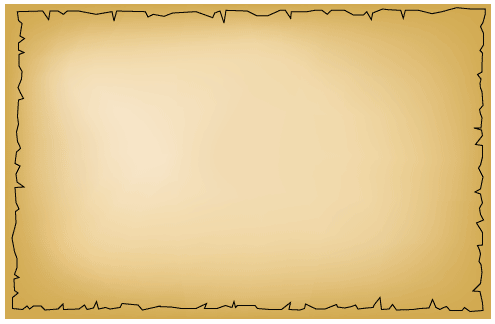
6. Select both the line work and the background gradient mesh and right click to select Make Clipping Mask. Your vector torn paper is now ready!


good article... thanks for information Belajar SEO dan Blog