Step 1: Continuing where we left off with our 3d modeling tutorial right click on the Edit Poly modifier and chose Collapse To, click Yes on the Pop-up window.
Step 2: Now with the following polygons selected add an Unwrap UVW modifier form the Modifier list.
Step 3: Click on the plus sign next to Unwrap UVW modifier to expand it. Select Face selection mode and uncheck the box for Ignore Backfacing. In Map Parameters rollout menu first click on Planer and after that click on Align X.
Step 4: Now in Parameters rollout menu click on "Edit..." to open Edit UVWs window.
Step 5: In the Edit UVWs window click on Tools>Relax...Now click on Start Relax and wait for a while until the stretching and relaxing is finished. After that click on Stop Relax, Apply and close the Relax tool window.
Step 6: Turn the Turbosmooth modifier OFF by clicking the small light bulb next to it. Now under the Edit UVWs window in Selection Modes check the box for Select Element. Using the Move and Rotate tool start selecting the Elements and arranging them.
Step 7: After arranging and scaling down the faces to fit the square, your Edit UVWs window should look like this:
Step 8: Now from Tools click on Render UVW Template. In the Render UVWs window change the Width and Length to 2048 and click on Render UVW Template. Save the Render Map from the small disk icon.
Step 9: Open the UVW Map in Photoshop, create a new Layer and using the Paint Bucket tool fill it with orange color. Change the layer opacity to 50% to see what's going on.
Step 10: Now copy the Logo(click to open) on top of Layer 1. Press CTRL+T to transform it and arrange it like I've did:
Step 11: Turn Layer 1 opacity back to 100% and save the file as a .jpg or .png or whatever works for you.
Step 12: Back in Max open Material Editor by pressing "M" or from the main toolbar and load a VrayMtl. To do this select the first material in material editor and click on Standard or the Get Material icon. Chose VrayMtl and click OK.
Step 13: Click the little box next to Diffuse and chose Bitmap, select the texture we've made using Photoshop and click Open.
Step 14: Click on Go to Parent icon(little circle with and arrow pointing up), go in Maps and click on None next to Bump. Chose Bitmap and Open this Bump texture(click to open). Change the Bump amount to 4. First click on show Standard Map in Viewport and after that click on Assign Material to Selection.
Step 15: Collapse to the Unwrap UVW modifier like we did in step 1 and select the polygons of the ball that will be black. Create a new VRayMtl with the Diffuse color set to black, the reflection color set to a dark grey and the Refl. glossiness to 0.7. Assign this basic material to selection.
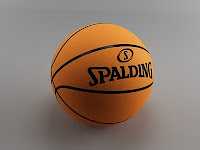
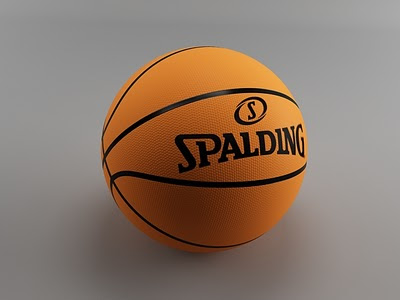
Step 16: That's it. Press F9 to render and see the result.
Result:


0 comments:
Post a Comment