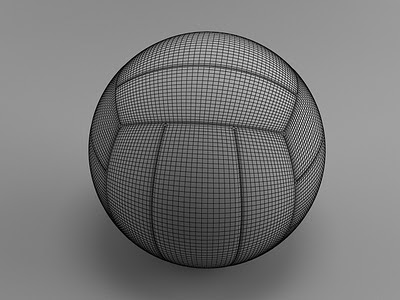
Step 1: To begin this 3d modeling tutorial Open or Reset 3ds Max. From Create, Geometry select the Box. Click the Plus sign next to Keyboard Entry to expand it. There, change the Length, Width and Height to 50cm. In Parameters rollout menu set the Length, Width and Height Segs to 3 and click Create. This will create the Box in the center of the grid.
Step 2: Right click on the box and select Conver to> Convert to Editable Poly.
Step 3: In the Modify tab go to Polygon selection mode, select the 3 polygons i've selected below, click on Detach, check the box for "Detach as Element" and click OK. Our Box has 6 faces so you need to do this 18 times(3 times for each face). In the next image you can see only 3 faces, so do the exact same thing for the other 3.
Note: Go to Google images to find a volleyball ball for reference and see how the faces combine.
Step 4: Add a Meshsmooth modifier from the Modifier List and change the Iterations to 2 or 3. I'm gonna go with 3 for a smoother result.(If you followed this 3d modeling tutorial correctly nothing will happen when you add the Meshsmooth modifier).
Step 5: Add another modifier, this time the Spherify.
Step 6: Now add an Edit Poly modifier, select the Polygon selection mode, press CTRL+A to select all polygons and click the little box next to Bavel. Change the Bevel Height to 0.2cm and the Outline to -0.2cm.
Step 7: For the last step of this 3d modeling tutorial add another Meshsmooth modifier and change the Subdivision Method to Quad Output. Leave the Iterations to 1.
3D Modeling Result:
Don't hesitate to comment if you have any problems following this 3d modeling tutorial.


0 comments:
Post a Comment