
In this tutorial we're going to create an envelpe icon usin corel draw x4
STEP-1 Draw to rectangles with 5 in angles like this
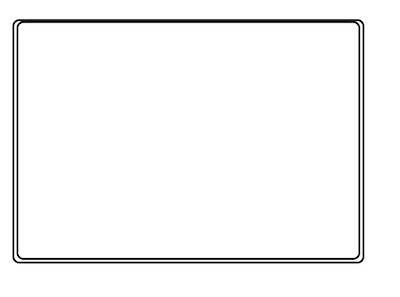
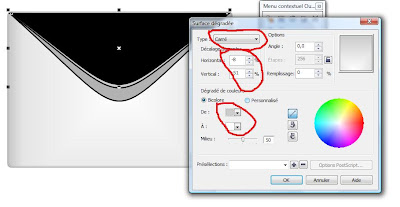
now chose black 20% with gradient color for the smal rectangle and the black 30% for the the large one
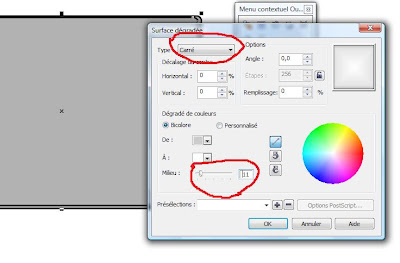
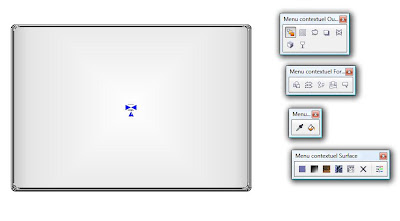
Now apply the gradient tool
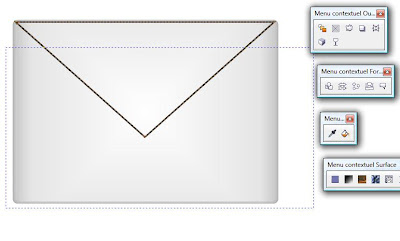
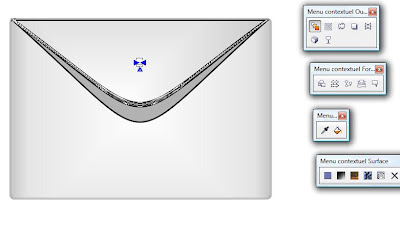
STEP-2 draw a triangle and convert it to a curve
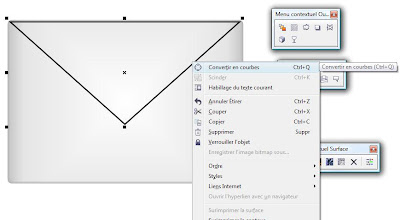
Now with form tool chose in cuvre
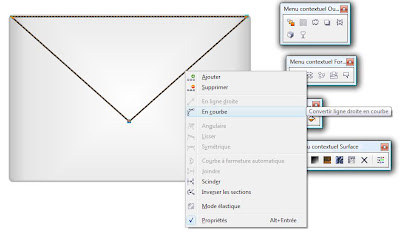
select the botton area of triagle with form tool and delet it
now right click and choose smooth
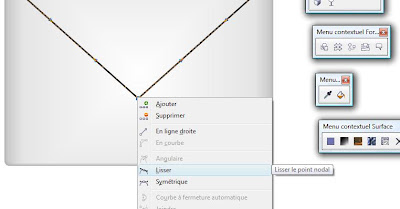
delete the bottom point . Now + in the keyboard and reduice the new rectangle from the bottom and + again on the new rectangle and reduice
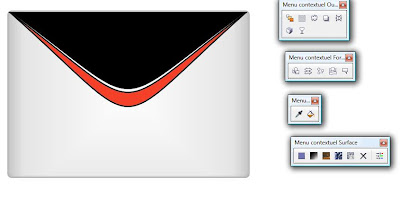
Now chose the black 30% for the first abd black 20% for the second and Black 20% white gradient for the last
now apply the gradient tool from the last to the midle
 STEP-3 Draw rectangle and duplicate reduice the new
 chose the black 20% for the first and with for the second
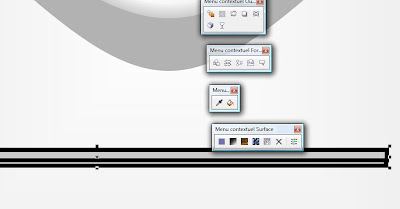
now move and rotate like this
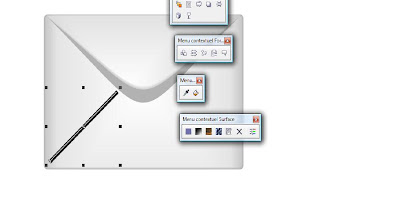 make a copy of the triangles and apply the miror and move it to the other side
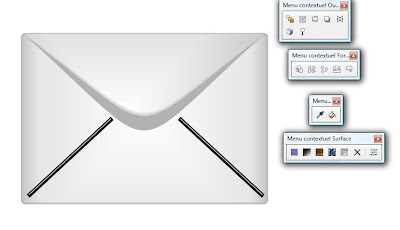
Now delete the border .
STEP-3 Creat a raw + in the keyboard now draw a circle
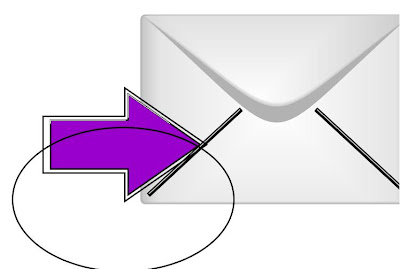
now cut the small raw with circle
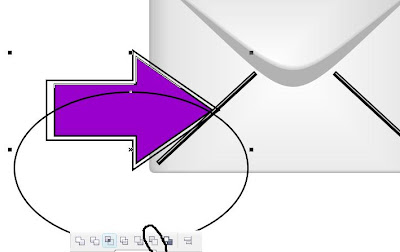
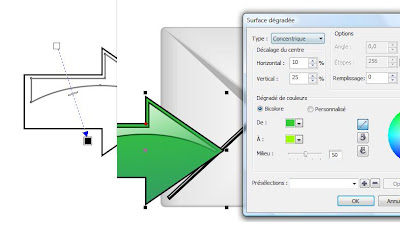
now let's color for the half raw chose white and apply transparancy and for the full raw choose gradien green
now delet the borders an you should have something like this

STEP-4 the shadow
draw an ovel grey circle convert it to a bitmap and apply the gaussien blur effect
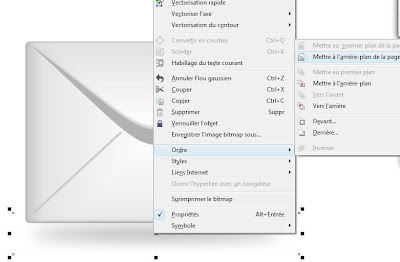
And this is the result


0 comments:
Post a Comment